
The following instructions tell you how to manually create a timesheet entry for an employee. Timesheet entries are also created automatically if the employee uses the production console to process material (see About production console).
1. Go to Production > Employee Timesheet.
A list of timesheet entries is displayed. The entries are broken down by
employee.
2. Click New.
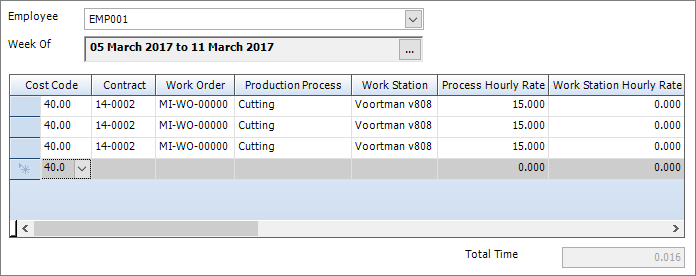
The Employee Timesheet - Weekly Timesheet form
is displayed.
It has the following tab:
§ Weekly
Timesheet
Add and amend timesheet entries for the employee.
See Employee
Timesheet - Weekly Timesheet for a full list of the fields and buttons
on this tab.
3. Select an employee from the drop-down list.
The week is automatically set to the current week, and any existing timesheet
entries are listed. You can select a different week if necessary. The
cost code is also automatically populated.
4. Specify the contract, work order, process or workstation against which you want to log time. The hourly rates columns are automatically populated depending on your choices.
5. Enter a number of hours for at least one of the days of the week.
6. Click Save.
The employee hours are saved and used to populate the contract budget.
|
You can export timesheet entries to a third-party accounts software package by using a transaction interface. The timesheet entries must be approved before you can export them. To approve a timesheet entry, select the Approved check box. When a timesheet entry is successfully exported, select the Exported check box. |